Design-Forward Edina Home Staging Tips for Faster Offers
December 4, 2025
December 4, 2025
Is your Edina home stylish but not quite picture perfect? You want a look that honors your home’s character and still feels fresh and move‑in ready. With a few targeted updates and smart photo styling, you can create a premium impression that attracts more buyers and stronger offers. This guide shows you exactly where to focus for Edina’s classic colonials, ramblers, and new builds so you get maximum impact without overspending. Let’s dive in.
Edina buyers often look for clean lines, well‑kept finishes, and a thoughtful blend of traditional details with modern comfort. Your goal is a neutral, design‑led backdrop that does not feel generic. Highlight original features like moldings, staircases, and built‑ins while updating lighting and color for a cohesive, current look.
Focus on rooms where buyers decide fast. Stage and photograph the kitchen, living or family room, entry, primary suite, main bath, and the front exterior. Keep styling minimal but intentional so rooms feel larger, brighter, and more functional.
Minnesota’s long winters and quick thaws make entries and mudrooms a priority. Show tidy, protected storage for coats and boots, and keep clear pathways for photos and showings. Warm lamp light and layered textiles help counter cool seasonal light.
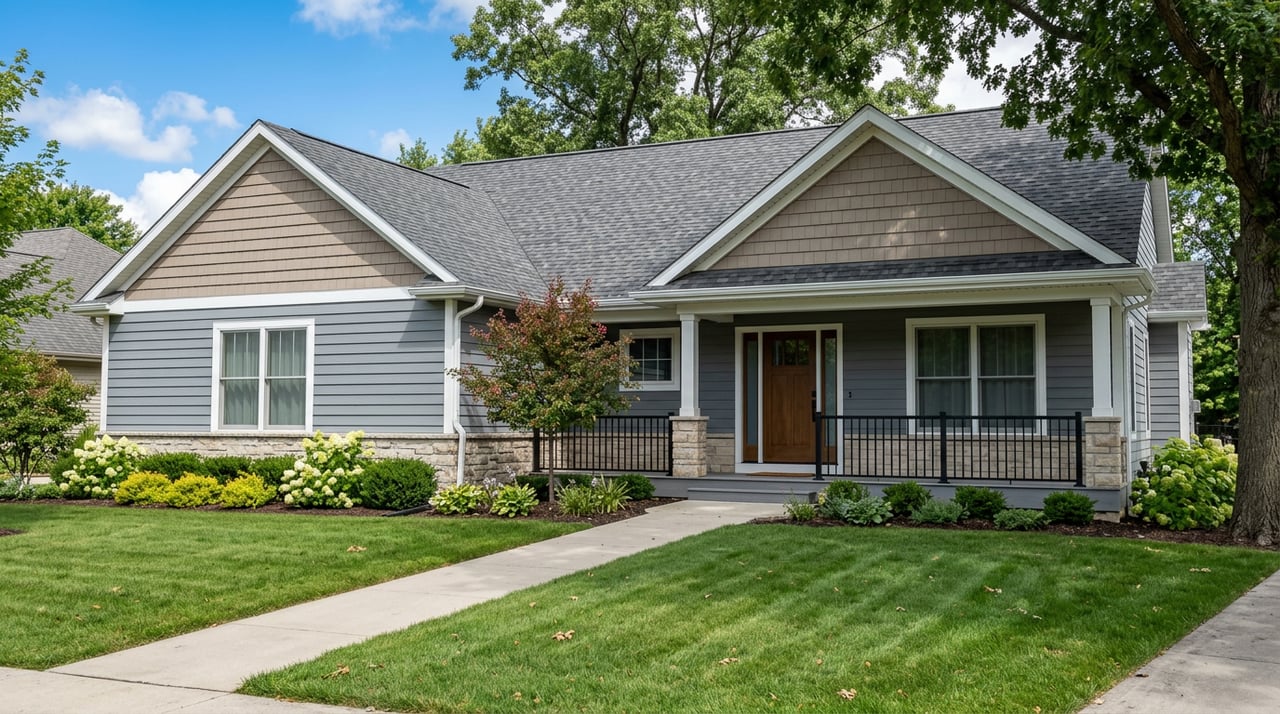
If you list in summer, curb appeal is high impact. Aim for a professional lawn cleanup, simple planting at the entry, and a clutter‑free porch. For winter listings, ensure ice and snow are managed and walkways are safe and photogenic.
Cost guidance varies by scope and vendor. Spot painting often lands in the few‑hundred‑dollar range, while light furniture staging for main areas typically falls in a few‑thousand‑dollar range. Confirm local quotes and availability before you commit.
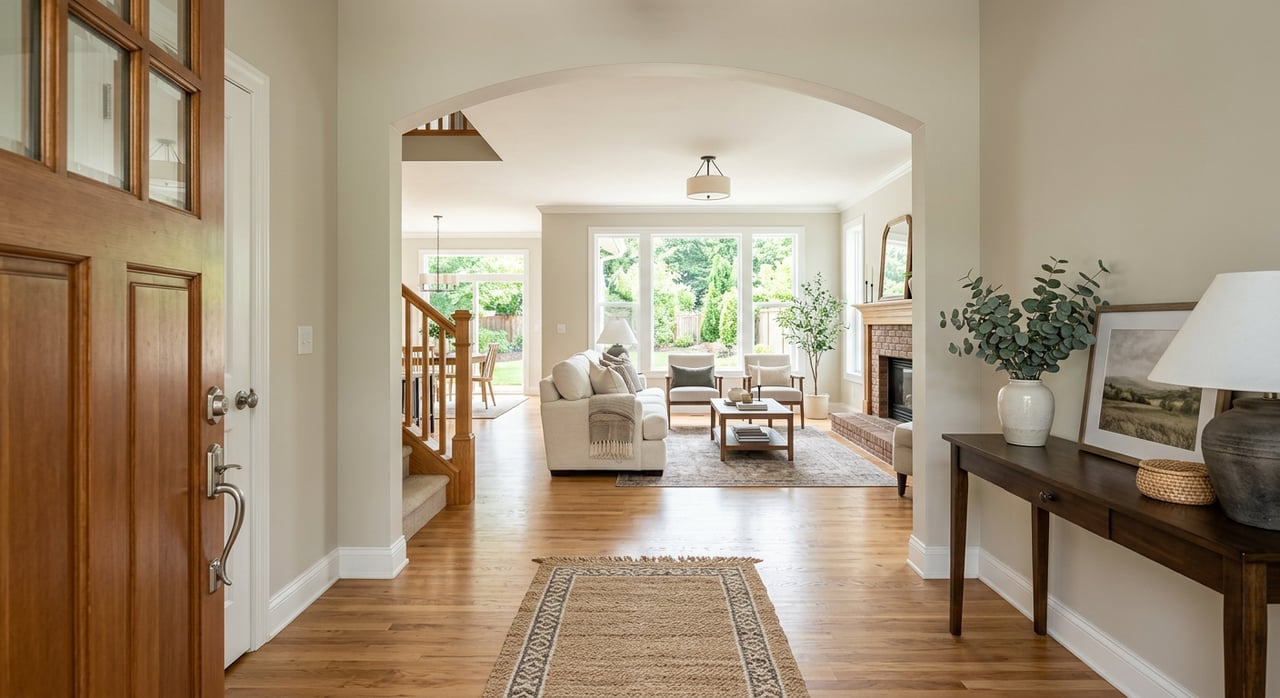
Keep the path wide and the styling simple. A neutral runner, sculptural mirror, and a clean console with one vase feels upscale and not fussy. Polish woodwork and banisters so the staircase reads as an architectural moment.
Arrange seating in conversational groupings that show flow and function. Use fewer, right‑scale pieces and low‑profile rugs to make rooms feel larger. Add layered lighting with a floor lamp and one table lamp to create depth in photos.
Declutter counters and keep only one or two styled items, like a bowl of fruit or a cutting board vignette. If you have under‑cabinet lighting, turn it on for photos. Show a small bistro or breakfast nook to imply everyday comfort.
Neutral bedding, crisp pillows, and a single throw add quiet luxury. Keep surfaces clear and mirrors streak free. In the bath, update hardware if needed and style with fresh towels and one plant or tray.
Plan the front shot like a cover image. Clear the driveway, tuck bins and hoses away, and straighten the house numbers. For twilight photos, schedule 15 to 30 minutes after sunset for even, flattering light.
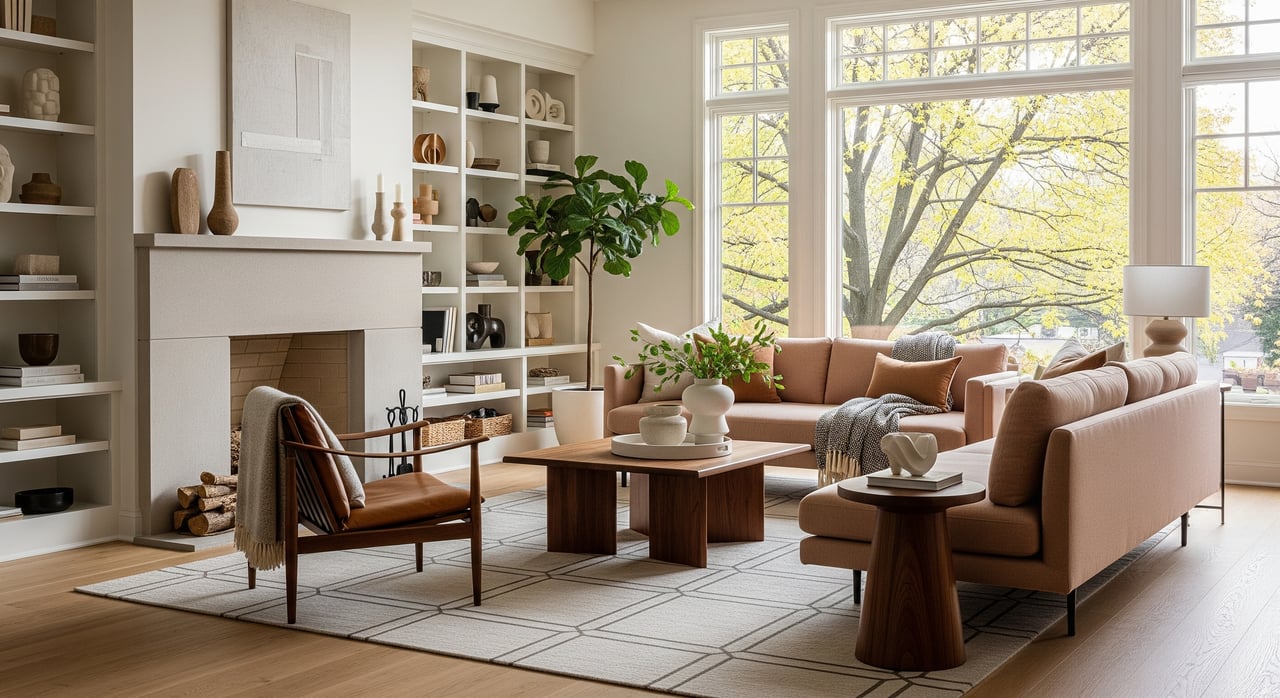
Celebrate the home’s traditional bones while lightening the overall feel. Replace heavy drapes with neutral panels, style the mantel with simple art, and use slipcovered or tailored seating for a refined look. The result is formal yet livable, which reads well in person and in photos.
Before and after example:
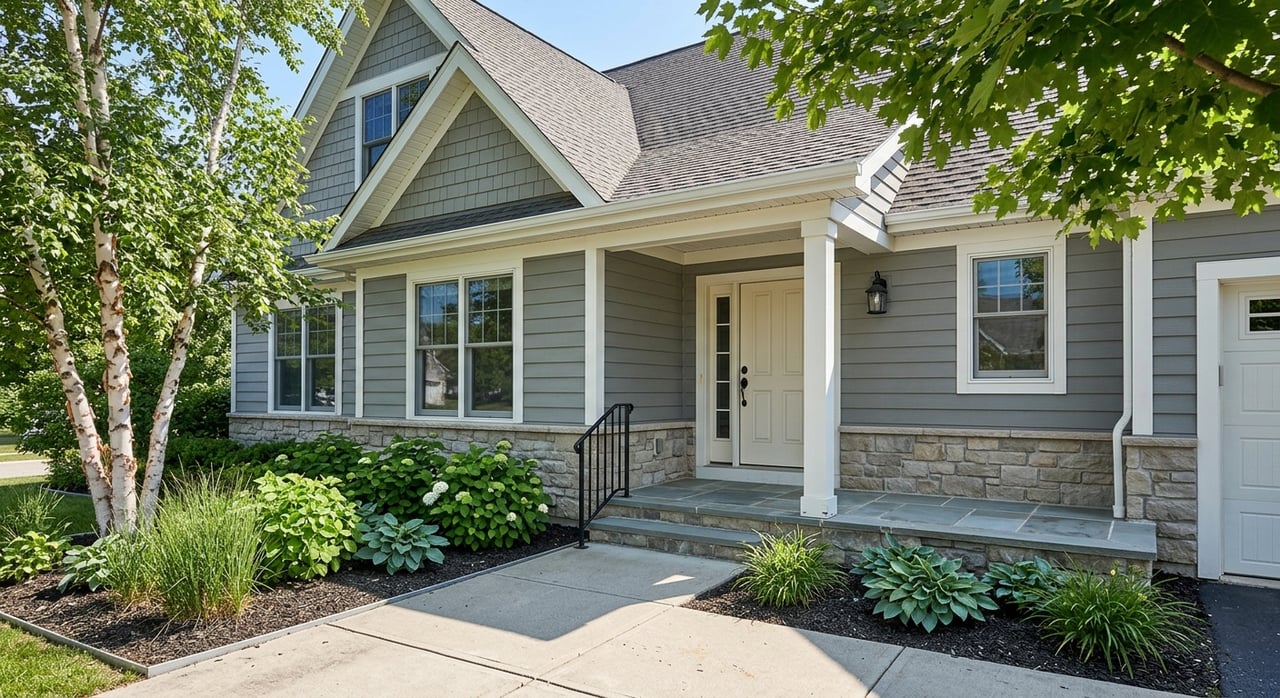
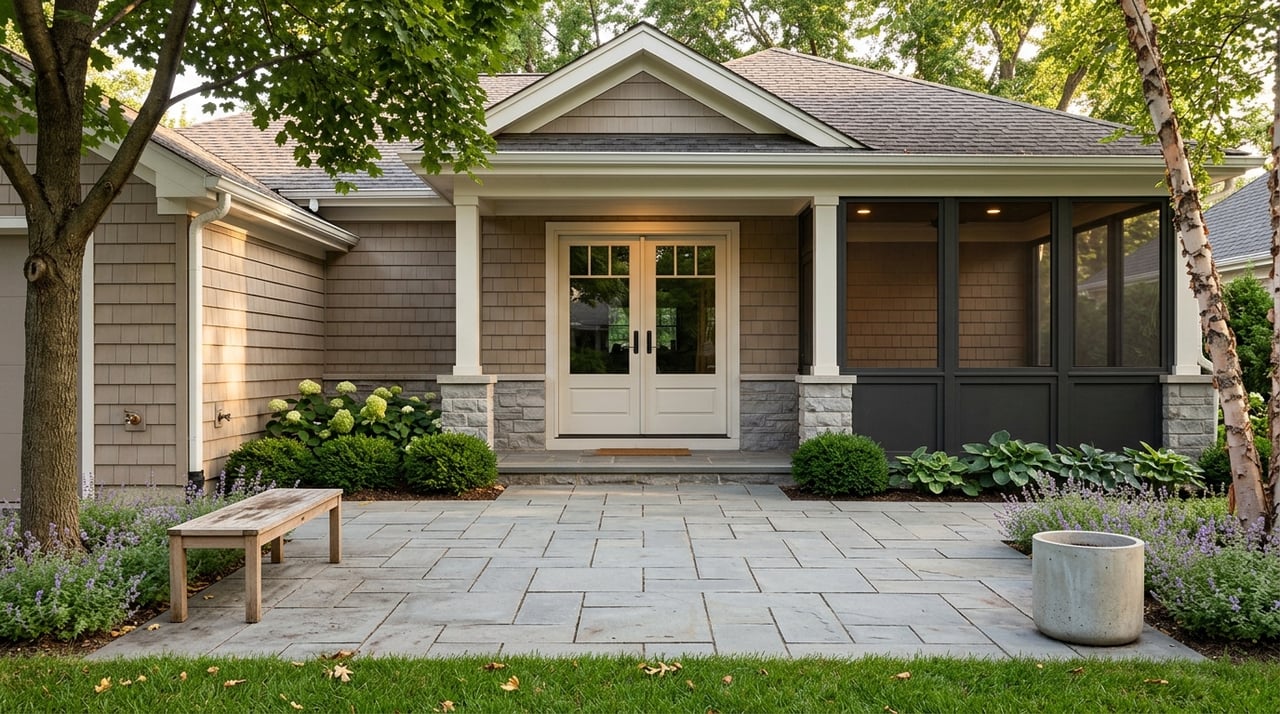
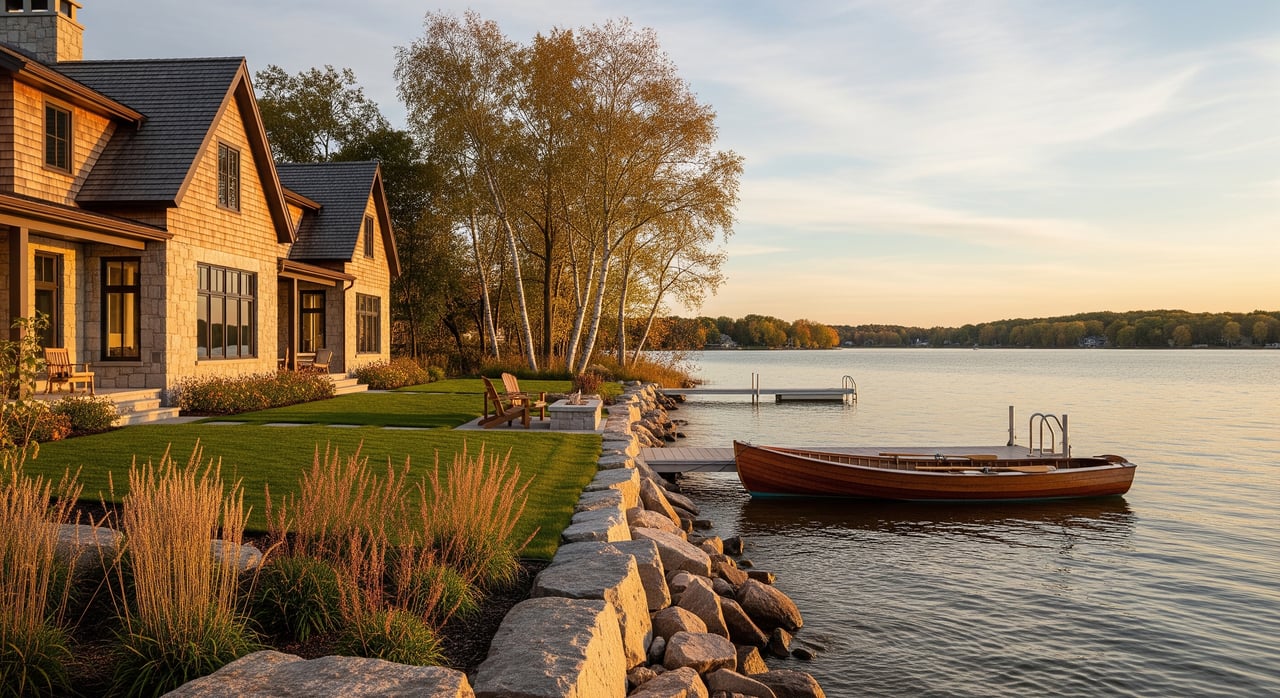
Maximize perceived volume and the connection to the yard. Define zones with area rugs, keep furniture low to preserve sightlines, and emphasize the path to patios or sliding doors. Add a bistro set or small lounge vignette outdoors to sell indoor‑outdoor living.
Before and after example:
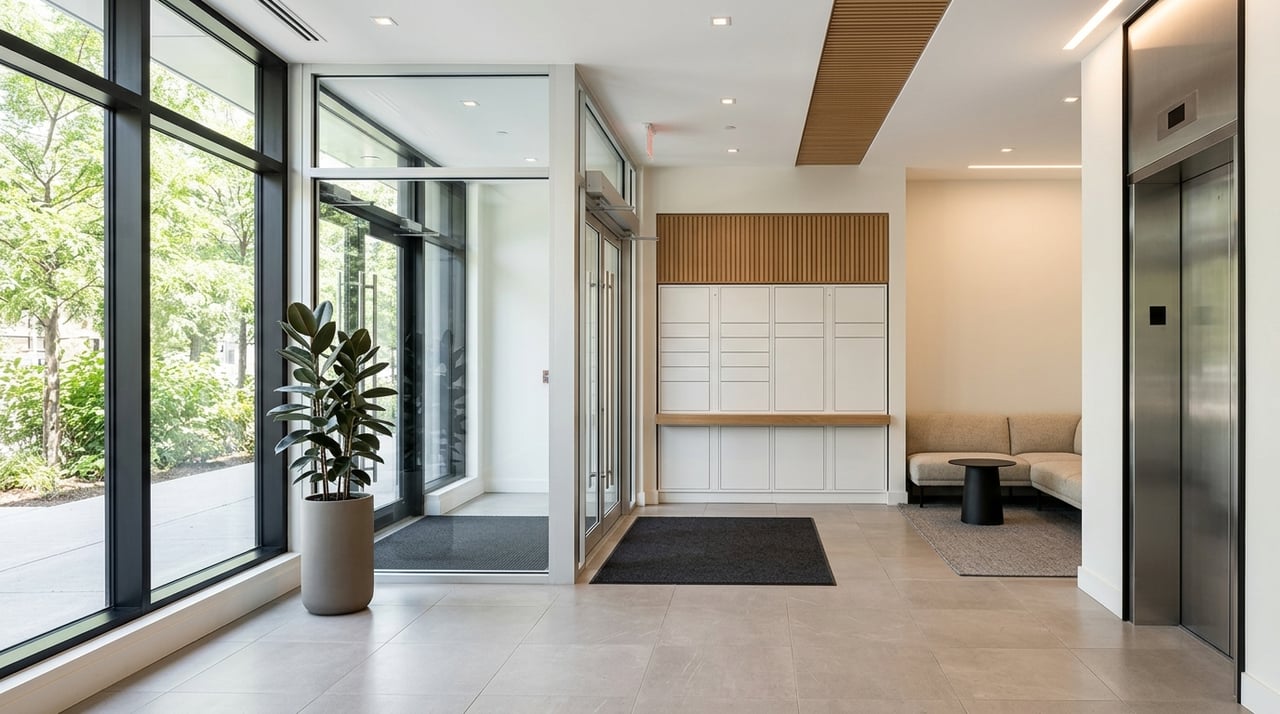
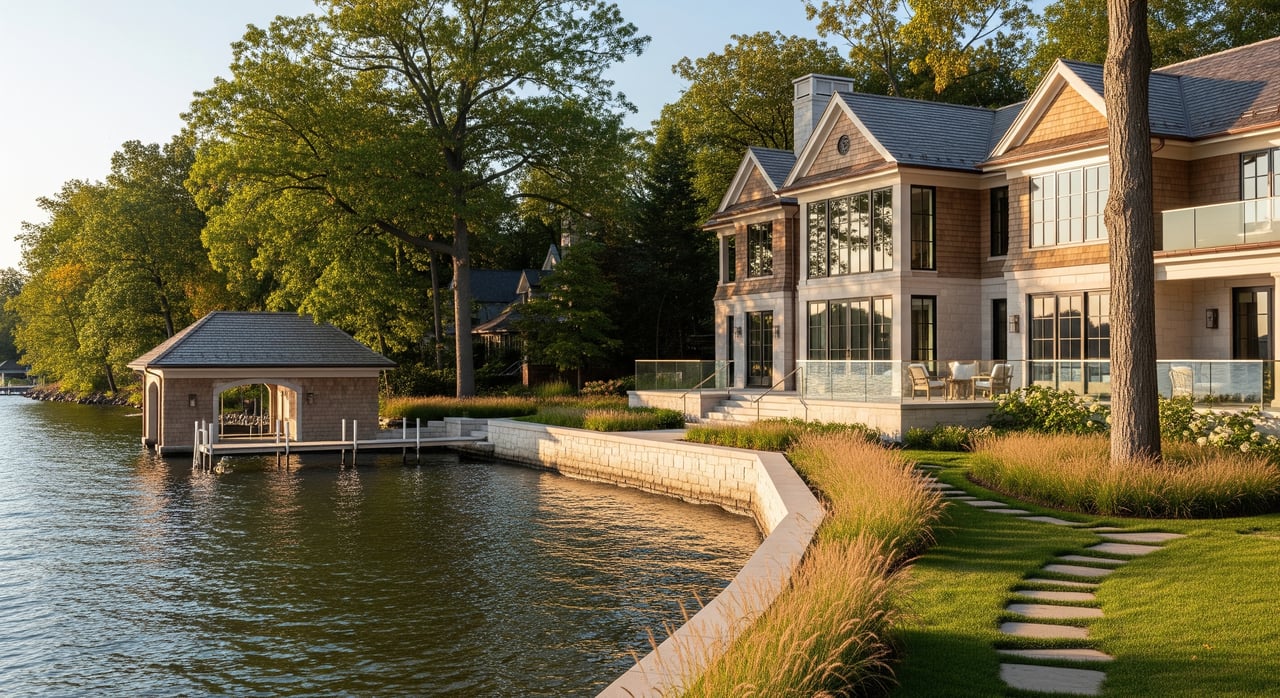
Newer homes can read a bit cold if they are empty or sparsely staged. Soften the look with textured rugs, pillows, throws, greenery, and select art. Use furniture to define zones in large open spaces, like a work nook or entry landing area, without overfilling the room.
Before and after example:
Photograph principal rooms first: exterior front, foyer, living room, kitchen, primary bedroom, main bath, and one backyard or amenity shot. Shoot from corners to show depth and aim to capture natural sightlines between rooms. Plan each room at the time of day with the best light.
Textural layers photograph beautifully, so add a few pillows, a throw, and a properly sized rug. Keep counters polished and mirrors streak free. Use a few well‑placed plants, avoid many small items, and choose one or two accent colors to keep the palette calm.
Use virtual staging only when a property is vacant and follow local rules for disclosure. Retouch photos to correct exposure and perspective, not to misrepresent rooms or fixed features. Accuracy protects trust and reduces surprises at showings.
A well‑organized vendor bench speeds up prep, reduces hiccups, and protects photo day. Written scopes, clear turnaround times, and confirmation of insurance keep everything on track. Bundled pricing for repeat partners and a small contingency budget for bulbs or plant refreshes help you stay photo‑ready through launch.
A thoughtful, design‑forward plan makes your Edina home feel current, cared for, and easy to imagine living in. Focus on the rooms and updates that photograph best, keep styling minimal but warm, and lean on trusted vendors to execute quickly. If you want a tailored staging and photo plan, connect with Carolyn Olson, Real Estate Agent for a consult that aligns design choices with market results.

If you have been thinking of selling your house and moving to a new home, condominium, or loft, she would be happy to help you market and sell your property, find a new home, and negotiate the best possible terms. If you are considering remodeling or renovating your home, she would be happy to help you assess the return on investment. She can even help you find the right architect, interior designer, builder, landscape architect, and craftspeople to make your project run as smoothly as possible.